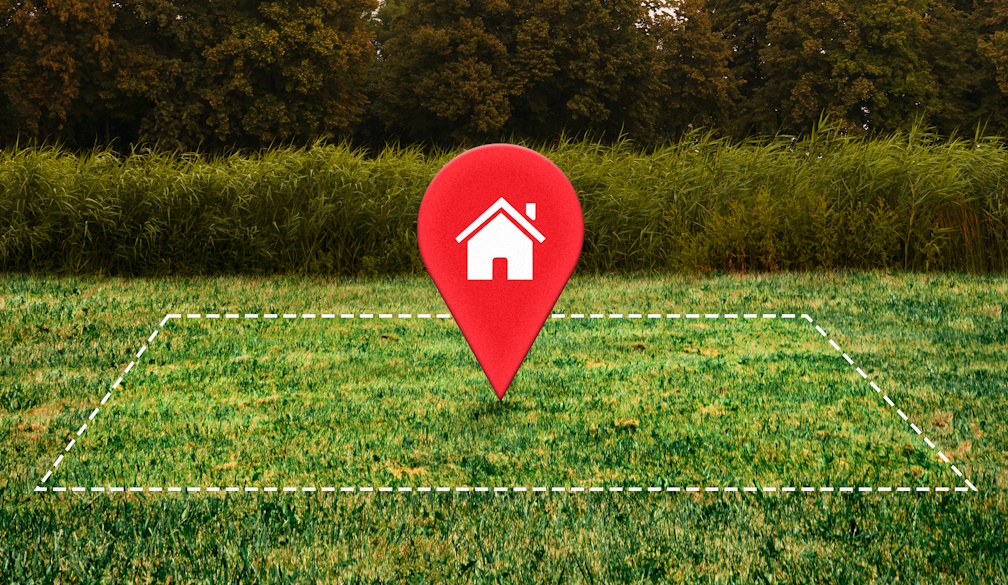
Land Selection: The Single Biggest Factor in Your Home's Long-Term Value
You have found the perfect floor plan. You can already picture the kitchen, the high ceilings, the way the light will fall through the living room in the afternoon. But before any of that takes shape, there is one decision that will quietly determine more about your home's future worth than the design itself, and it is the block of land you choose to build on.
Why the Land Matters More Than the House
It feels natural to focus on the home you are building rather than the ground beneath it. After all, the house is what you will live in, walk through, and show off to family and friends. Yet from a value perspective, the relationship runs the other way. Land tends to hold and grow its value over time, while the structure built on top of it gradually depreciates, no matter how beautifully it was finished on day one.
This is not opinion, it is backed by national data. Research from the Reserve Bank of Australia found that the value of residential land across the country is approximately twice the value of the dwelling structures sitting on it, as detailed in their Effect of Zoning on Housing Prices discussion paper.
In other words, for every dollar your finished home is worth, the land it sits on is likely worth roughly two dollars on its own. That ratio alone explains why so much of your long-term return comes from where you build, not just what you build.
The Numbers Behind Land Growth
This is not a recent trend either. Over a twenty five year period, property research group RP Data found that the cost of land per square metre in Australian capital cities increased by 710 per cent, with regional areas climbing even further, a figure reported by Mortgage Australia.
Across the same period, combined house and land prices rose at a noticeably slower pace, which tells you plainly that land has consistently been the part of the equation doing the heavy lifting.
For anyone planning a custom build, this should change how much time and attention goes into choosing the block before a single design decision is made.
What Makes One Block Better Than Another
Not all land grows in value at the same rate, even within the same suburb. A handful of factors tend to separate blocks that hold their value well from those that simply sit there.
Location within the suburb matters enormously, including how close the block sits to the water, parkland, transport, and well-regarded schools. Elevation, aspect, and the shape of the block also play a part, since a north-facing rear yard or an elevated position with a view will always appeal to future buyers in a way a flat, shaded block cannot replicate.
Beyond the obvious appeal, it is worth looking closely at zoning restrictions, easements, and any planned developments nearby, since these details can affect both your build options now and your resale potential later.
Buying Land Versus Buying an Existing Home to Replace
For buyers chasing a specific lifestyle or location, there are usually two paths available. You can search for vacant land in your preferred area and build from scratch, or you can purchase an established home in that location and pursue a Gold Coast demolish and rebuild or Brisbane demolish and build, once settlement is complete.
Both approaches lead to the same outcome, a brand new home positioned exactly where you want to live, but the right path depends heavily on what is available.
n tightly held, established suburbs close to the coast or city centre, vacant land is often scarce, which makes a knock down rebuild the more realistic route to securing a premium position. In growth corridors or newer estates, vacant blocks may still be available and often come with fewer constraints to work around.
Why Working With a Custom Home Builder Changes the Outcome
Once you have identified the land, the next decision that shapes your home's long-term value is who you choose to build it. An award winning custom home builder does more than execute a floor plan. They understand how to design a home that responds properly to the block itself, taking advantage of its natural light, slope, and outlook rather than working against them.
This matters more than people expect. A generic design dropped onto a block without proper consideration for its orientation or shape can leave you with awkward living spaces, wasted outdoor areas, or a home that simply does not sit well on its site.
A builder who genuinely understands how to read a block will design around its strengths, which protects both your enjoyment of the home and its appeal to future buyers.
Making the Right Choice From the Start
It is easy to get swept up in floor plans, finishes, and inclusions when planning a custom build, since these are the parts you can see and touch in a display home. Land, by comparison, can feel like the less exciting half of the decision. But the research is consistent. Land appreciates, buildings depreciate, and the block you choose will influence your home's long-term value far more than most of the design choices that come after it.
Before committing to any block, take the time to properly understand its position, its constraints, and its potential, ideally with guidance from a builder experienced in matching designs to land rather than the other way around. Getting this part right from the very beginning sets the foundation, quite literally, for everything that follows.